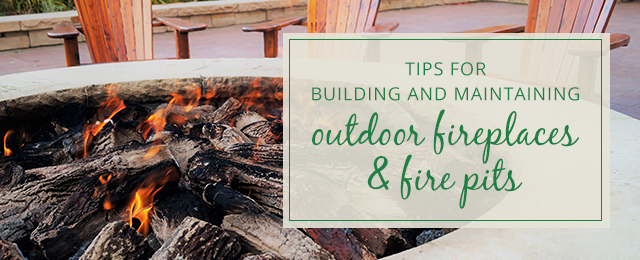
After months of work, you finally have the backyard of your dreams. Maybe you’ve paved a new patio and set out chairs perfect for relaxing in, or maybe you’ve landscaped an immaculate garden and draped glowing string lights from trees.
But despite everything, once night falls, guests wander inside. As the months grow cooler, less time is spent enjoying your hard work.
You need something to draw conversation back outside, and nothing is quite as attractive as an outdoor fireplace or fire pit.
Whether it’s family s’mores nights or casual dinners with friends, a fire is a center of community. People naturally gather around a warm, rustic fireplace or pit. In this one-stop guide, we’ll take a look at ways to build your own fire pit, as well as tips on how to maintain them, so you can be free to enjoy your outdoor fires for years to come.
Before You Build: Safety Considerations
It’s important to take time to plan before beginning any home improvement project. Consider these factors as you think about your fire pit:
1. Know Your City’s Codes
Every area has specific codes and fire laws. It won’t do you much good to begin digging a pit if you’re only permitted to have gas fires on your property. Researching your city’s specific laws will save you time and hassle in the long run.
2. Pick the Right Location
A good location is key to an enjoyable fire. Try to find a spot with some wind protection, so you minimize smoke and scattered ash. Build your pit away from your house or other structures, and ideally, away from low-hanging tree limbs. Also, make sure there’s plenty of room to enjoy your pit from every side.
3. Think Before You Dig
Before you start digging, make sure you know the location of utility lines buried around your property. Accidentally damaging a line will cost you time and money to repair, and it is easily avoidable.
4. Protect Your Pavement
If you build your pit on pavement or patio stones, invest in some fire blocks. The heat of a fire will gradually harm the surface of your patio. To avoid this, line the bottom of your pit with protective fire blocks to prevent damage.
How to Build a Fire Pit
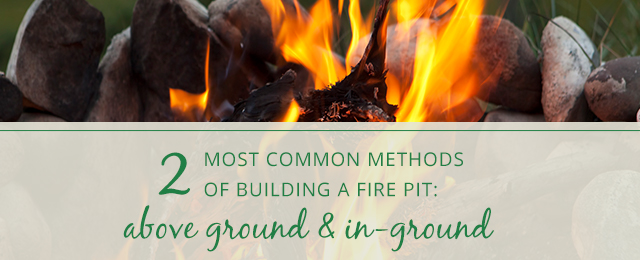
Once you’ve researched city codes and pruned away low-hanging branches, you’re ready to start building your fire pit. For complicated designs, contact a custom fire pit installer in Bowie, MD, but with the right tools, you can make simple fire pits yourself in one afternoon. Below are two of the most common methods of building a fire pit — above-ground and in-ground:
1. Above-Ground Fire Pit
Above-ground fire pits are a classic, easy addition to any backyard. First, make sure you have these tools and materials:
- Stones (these can be any fire-resistant material, from bricks to concrete)
- Sand/lava rocks/gravel
- Shovel
- Tape measure
- Level
- Tamp
- Concrete adhesive (optional)
Once you’ve gathered your supplies, you’re ready to start building. Here’s how:
- Mark the area where you want to put your fire pit with marking paint or make lines in the dirt with a shovel. Most fire pits are roughly 36-44” in diameter.
- Once you have clearly marked your area, take your shovel and dig up about 2” of soil.
- Tamp down the dirt, using your level to check that the surface is even.
- Add 2” of gravel as a base and then spray lightly with water. Tamp it down, then add another ½” of gravel and repeat.
- Lay the first row of blocks around the perimeter of the gravel. Make sure the edges of the blocks touch each other.
- Stack the second row of blocks. Make sure to stagger them over the joints of the first row. Add a third row of stones if desired.
- OPTIONAL: For an extra-secure hold, consider using concrete adhesive. After the placement of the row looks right, remove the stones one block at a time and add the adhesive. Reposition each stone once done and move on to the next one.
- Fill the bottom of the pit with sand, lava rocks or gravel.
You’re ready to throw in some kindling and enjoy your new fire!
2. In-Ground Fire Pit
Although they take a little more work, in-ground fire pits often look more “finished” than above ground versions, making them well-worth the investment. Before you begin, make sure you have the right tools:
- Stones
- Sand or paver base
- Lava rocks or gravel
- Shovel
- Tape measure
- Level
- Tamp
- Concrete adhesive (optional)
- Outline your pit with marking paint or make lines in the dirt with a shovel.
- Before you start digging, make sure your pit won’t be in a place in your yard that typically retains water. The last thing you want is a soggy, flooded pit. Once you’ve done that, dig up the marked area. The depth depends on the height of your fire pit stones, and whether or not you want the pit to be level with the ground.
- Tamp down the soil and use your level to check if the surface is even.
- Pour sand or a paver base around the perimeter of the pit, where your blocks will sit. Tamp down.
- Set your concrete blocks around the perimeter of the pit. Check the blocks to see if they’re level.
- Pour lava rocks, gravel or sand into the pit to hold the blocks in place. If you use sand, tamp after pouring.
- Place the second row of stones. Concrete adhesive is advised for a secure hold, especially with in-ground designs — the stones have to withstand greater pressure than above-ground fire pits.
- Continue layering stones until your fire pit walls are the desired height.
- Fill in space outside of blocks with extra dirt and press down — a hand tamp will do the job.
If you used adhesive, follow the manufacturer’s instructions and let it dry before lighting a fire.
Tips for Fire Pit Maintenance
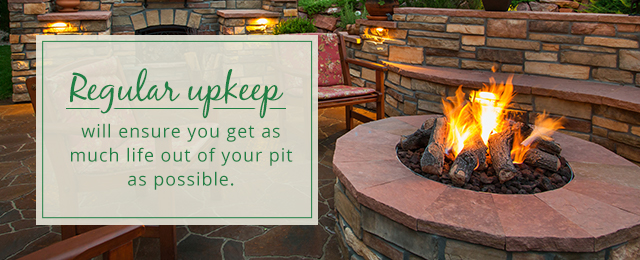
Outdoor fire pits don’t need much maintenance to be enjoyable, but regular upkeep will ensure you get as much life out of your pit as possible.
Note: While not necessary, consider buying a simple fireplace toolkit. A typical set includes an ash scoop, a long poker and log tongs, and it will make tending your fire much easier.
1.Scoop out the Ashes
Fire ash is acidic, which can slowly corrode the walls of your pit. Shovel them regularly to avoid long-term damage. Use a shovel to collect ash in a metal bucket and let them sit for several days before disposing of them — ashes can retain heat for days after a fire, posing a potential fire hazard. If you are a gardener, mix the wood ash with mulch over your flower beds. Ashes are great sources of lime and potassium.
2. Consider Your Fuel
Although it’s tempting, resist the urge to burn any trash. Burned garbage can release harmful toxins that harm both your lungs and the surface of your pit. Fire accelerants are dangerous and can discolor or damage your pit. For safe fires and a long-lasting pit, burn mature, split wood.
3. Prevent Cracks
Sudden temperature shifts are rarely good things. Dramatically flooding your fire with water may create loud hissing and steam, but it can also crack the warm stones.
Small, hairline cracks only affect the appearance of your pit, but deeper ones can cause structural damage. Examine any cracks that develop along your pit to determine whether or not they require a patch. As often as possible, allow fires to subside naturally. Keep a bucket of water nearby for emergencies, or to put out some stubborn embers.
You can patch cracks with a range of different fillers or cement, but be sure the label says they can withstand high temperatures. Before using your pit, let the filler dry completely — it can take anywhere from a couple of days to a couple of weeks.
4. Try a Cover
Purchasing a cover could add years to the life of your fire pit. A simple vinyl cover protects it from the wear and tear of the weather and seasons, while a copper or metal design helps snuff out the fire. When choosing a cover, consider the weather your region is most likely to encounter — if you’re in warmer places, hail and ice may not be as much of a concern as sand or insects.
5. Keep It Clean
One of the easiest ways to maintain your fire pit is just to clean it. However, the type of fire pit you have will determine the cleaning process:
- Masonry fire pits: Masonry fire pits are constructed out of stone, brick or concrete. To clean a masonry pit, use a solution of 1-part muriatic acid (found at most hardware stores) to 9-parts water. Scrub with a stiff-bristle brush, rinse with water and allow to dry for 48-72 hours.
- Metal fire pits: Metal fire pits are an attractive and versatile solution for many yards, especially paved spaces like patios. But rust is a common enemy of metal pits, especially when left out to the elements. For stubborn rust, wet the area lightly with a hose and scrub with a soap and water solution. Turn the bowl of the pit upside down, and let it air dry before resuming use.
- Gas pits: Gas fire pits are a low-maintenance choice for your yard, especially when you don’t have access to regular firewood. To clean a gas pit, take a cloth and wipe the burners to make sure they are clear of buildup or debris. Check the fuel lines regularly to make sure they’re operating correctly.
Troubleshooting Problems With a Gas Fire Pit
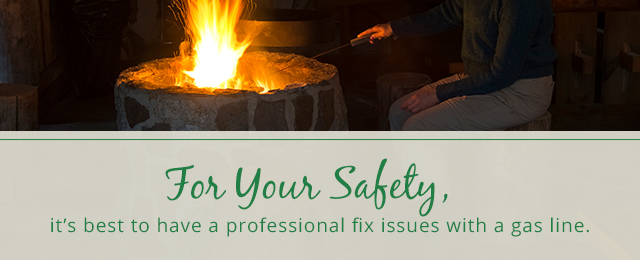
Damage to wood-burning fire pits is usually straight-forward and easy to identify, but gas pits can be trickier to diagnose — and fix. For your safety, it’s best to have a professional fix issues with a gas line. Below are the three most common issues with gas fire pits, as well as their most common causes:
1. Fire Won’t Remain Lit
No matter what you try, your fire pit won’t hold a flame. This points to problems with the gas line — it’s either leaking or clogged with debris. If it’s debris, you can try purging the line of air. If it looks like the problem might be a leak, you should contact a professional to check the line’s sealing.
2. Short Flame
A short flame could indicate a few problems. It might point to a low pressure in the gas line, low BTU output, or that you have the wrong size of gas line for your fire pit. Despite the cause, if your fire pit has a low flame height, it’s best to hire a professional to diagnose the problem.
3. Delayed Ignition
If it takes your burner a few seconds to ignite, you might have a problem with your gas pressure. If it’s low, contact a professional or your gas supplier. Also be sure to check the gas valves and replace any that aren’t in good condition.
Tips for Fireplace Maintenance
Outdoor fireplaces are the symbols of cozy nights. People will naturally gather around an old stone fireplace, pulling up chairs and marshmallow sticks on crisp autumn nights.
Fireplaces are very different than fire pits. But like their smaller cousins, fireplaces also benefit from regular maintenance. Try implementing these tips to keep your outdoor fireplace roaring for years to come:
1. Keep on Top of the Ashes
While a little ash helps a fire to burn, too much will impede airflow. When the ash is deep enough to touch the bottom of the fire grate, it’s time to empty it out. Follow the same procedure for cleaning ash out of a fire pit.
2. Hire a Chimney Sweep
Chimneys should be inspected by a professional chimney sweep once a year after the burning season is done. If you use your fireplace year-round, have it inspected twice a year. This will ensure creosote buildup doesn’t reach dangerous levels and cause a destructive chimney fire.
3. Burn Only the Best
For your outdoor fireplace, only burn seasoned, mature wood. An easy way to tell mature from green wood is to knock two pieces together — green wood will sound dull, while seasoned wood will make a sharp, ringing sound. Also, notice what species of wood you burn. Hardwoods, like oak, maple and ash, are denser and burn hotter than softwoods such as cedar, pine and poplar.
Troubleshooting Problems With an Outdoor Fireplace
Sometimes, you might encounter problems with your outdoor fireplace. Here’s a look at a couple of the common issues and what you can do about them:
1. Back Puffing
Back puffing — when smoke comes out of the fireplace into your face instead of going out the chimney — is a common problem with outdoor, wood-burning fireplaces. Install smoke guards or weatherproof exhaust fans to address this problem, but if it persists, it might indicate a deeper issue. Check your creosote or soot build-up and clear the chimney of any debris like bird nests. Make sure the damper works correctly.
2. Leaking Gas
Gas explosions are no joking matter. They can harm your family as well as your property. Examine your fireplace and take note of a rotten-egg smell or a quiet whistling — these are often indicators of a gas leak. If you suspect you might have a leaky gas line, immediately shut off the gas supply to your fireplace. Consult with a licensed professional to replace any broken parts.
Custom-Built Fire Pits
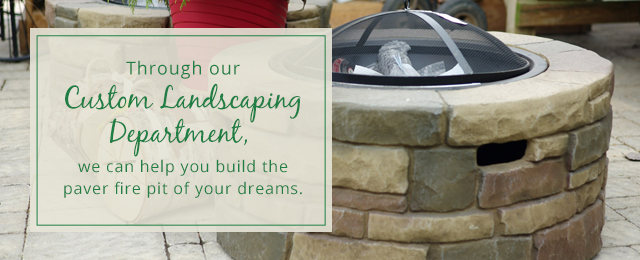
A fire pit or fireplace is one of the fastest ways to add charm to your backyard. At Patuxent, we specialize in outdoor living spaces. Contact custom landscaping experts to learn about our custom-built fire pits to transform your backyard into your oasis.
Your tips on protecting pavement with fire blocks and knowing the location of utility lines are crucial. I also appreciated the step-by-step instructions for both above-ground and in-ground fire pit construction. The maintenance tips, such as scooping out ashes and using seasoned wood, will help readers keep their fire pits in good condition. Overall, a comprehensive and helpful guide for anyone looking to create a cozy outdoor gathering space. Keep up the great work!
Thank you!
I love all of this information very single one of them is practical .
Thank you for your tip to remember to consider the specific codes and fire laws when you’re building a fire pit. My brother is working on building a patio and I want to help by getting him a fire pit table. I’ll be sure to double-check that getting one of those is allowed in his area.