
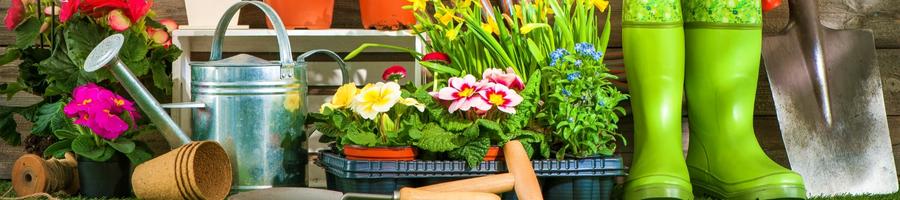
It’s that time of year again! The sun is shining. Everywhere you go, the flowers are out blooming! Your neighbors have beautiful gardens featuring flowers of every shape, color and size. Even your local shopping centers probably have flowers planted along the walkways.
It is time to soak in the season by planting annuals. The best way to enjoy the season is by planting seasonal colors, so start planning your garden now!
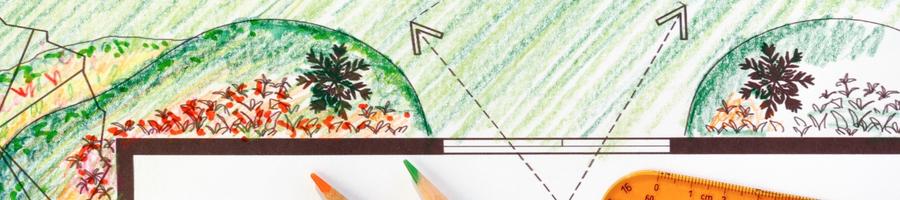
Planning Your Garden
Before you begin to plant, you need to spend a little bit of time in the planning stage.
You should ask yourself:
- How big will your garden be?
- Are you planting in the ground or filling a window box?
- What kind of flowers do you want to fill it with?
- Which ones will look nice together?
- Will it get a full day of sun or only half a day’s worth?

Seeds or Plants?
So you’ve got your garden laid out, but you’re still faced with the crucial question. Is it better to start your annuals from seeds, or should you buy the little six-packs of already-growing plants from the garden center?
The short answer is there is no best way to plant annuals. There’s no way that’s definitively better. The long answer is that your method of planting really depends on what works for your schedule and what your expectations for the spring are.
Starting from seed is generally more cost-effective. A packet of seeds might cost two or three dollars and grow into multiple flats worth of flowers. In addition, there’s often greater variety to be had from seeds than there is from a six-pack of flowers, as most greenhouses only stock the most popular varieties in six-packs.
On the other hand, many people prefer to have the first part of the work done for them and would rather just buy a flat of seedlings that have already sprouted and begun to flower. This is definitely the easier route, as it saves you the bother of trying to figure out when and how to plant annuals from seeds.
If you’re planting annuals late in the season, it might be prudent to choose the seedlings. The seeds will take time to germinate and grow. By the time they begin to blossom, the season may be almost done. Seeds work best as an option when they are planted early in the growing season.
Still can’t decide which way you want to start your garden? Let’s review both ways.

Starting From Seed
Starting from seed can be an overwhelming process at first, but don’t worry. Planting annuals is actually a lot easier than it seems.
As a general rule of thumb, annuals can be broken down into three main categories, all of which have their own rules for planting. Let’s break down these three main categories now and go over some tips for planting different annuals.
Hardy Annuals
These are pretty tough annuals. That means they can be planted in your garden outside as soon the soil is unfrozen enough to be worked. Plant them where you want them to grow in your garden, typically at a depth that’s roughly twice the length of the seed’s diameter.
Some hardy annuals can even be planted the previous fall. If you’re doing this, you’ll want to plant the seeds deeper than you would in the spring, and spread a little mulch over the soil to protect against the frost. The advantage of fall seeding is that these flowers will bloom much earlier in the spring.
Half-Hardy Annuals
These flowers are not quite as tough as the hardy annuals, but they can still take a bit of cold. Plant these in your outdoor garden after temperatures are consistently above 25 degrees at night and the threat of a hard frost is past.
Tender Annuals
These are a little more delicate, and they definitely can’t withstand as much cold. Only plant these seeds after all danger of any frost is past. A frost will most likely cause detrimental damage to these delicate little seeds.
When planning your garden, check what type of annuals you have and decide when is best to plant them.
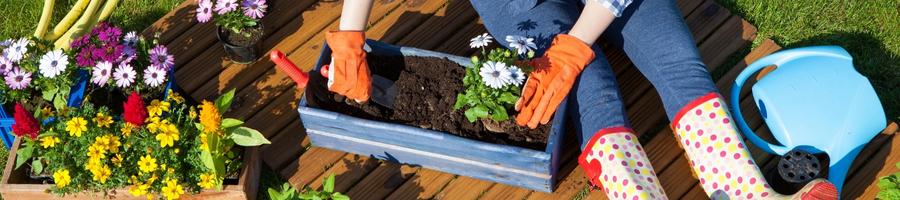
Starting From Plants
This process is so easy, it’s almost difficult to do wrong. Whether you’re a master gardener or a beginner, you’ll be able to do this with no difficulty at all.
First, it’s a good idea to lay all your plants out, still in their pots, around the garden to get an idea of where you want them before you even begin digging.
Using a trowel, dig a hole just large enough to cradle the plant’s root system, while the stems, leaves and blossoms remain above ground. If you’re planting multiple annuals, be sure you leave enough space between the holes as you dig them.
Carefully remove your baby plant from its pot or plastic packaging. Never pull on the stems to yank the plant out. Instead, turn the packaging upside down, cupping the plant gently in your hand to catch it. Squeeze gently on the plastic package to loosen the dirt. The plant should slip right out into your hands.
Place the plant into the hole you just dug and gently scoop the loose dirt back in around it to fill up the hole and cover the roots. Pat the dirt firmly into place so your plant is standing sturdily upright.
Whenever you’re done planting, always give your garden a good watering. This helps the plants begin to take root right away. Make sure to soak the soil thoroughly. If you’re going to mulch, now is the time to do that. It’s not a necessary step, but it does help prevent weeds from growing, and it helps the soil retain water just a little bit better.
If you’re wondering how to plant annuals in a pot, the process is almost exactly the same. Set the plant loosely in an empty pot, holding the top of the plant gently in your hand to keep it steady. Scoop dirt in around it until the pot is full and the plant’s roots are covered. Water it well to help the roots grow in their new home.
Basic Flower Care
One of the great benefits of choosing annuals is that they don’t need a lot of care. They’re generally very good at taking care of themselves. There are, however, a few basic things you can do to keep them looking their best and staying healthy.
Watering
This is the easy one. If it rains frequently, you don’t even have to do a thing. But if rain isn’t coming regularly, you’ll have to step in to give your plants a drink.
If you still aren’t sure after looking at your plant, you can also feel the soil. If it’s dry, hot and crumbly, it needs to be watered. Healthy soil should feel moist, dark and cool.
It is possible to overwater, however. You definitely don’t want to drown your plants in water. If you water your annuals every day, this will generally be enough. If the soil still feels damp when you go to water, then it’s probably all right to skip a watering.
Weeding
If you’ve planted mulch around your flower beds, you’re in luck. You probably won’t have to do much weeding. The mulch helps discourage weeds from growing up and choking out your annuals.
If you do need to weed, however, be careful to only pull out the weeds and not your flowers. As you’re weeding, make sure to pull the weed out by the root, or it will be back again before you know it. You can use a special weeding tool to do this if you like, or you can just use your hands.
Deadheading
This is a fancy term for pulling the dead blossoms off a plant. Just pluck these off with your hands, and your flower will look much better. Deadheading also helps promote new growth by pushing out new blossoms to replace the old ones.

By following these tips for planting annuals, you’ll soon be well on your way to having your own beautiful annuals garden that’ll last all season long!
So get busy planning. Your perfect annual garden is waiting. Take a trip to Patuxent Nursery to explore annuals you want to start gardening!
Leave a Comment
You must be logged in to post a comment.